REST API Use Cases & Code Samples
The examples below are built to help developers move from reference docs to working integrations. Use them to understand common PixLab request patterns, adapt production workflows, and test endpoints across content moderation, face analysis, document conversion, OCR, image generation, and DOCSCAN use cases.
These examples, plus many others, are available in the PixLab GitHub sample repository.
- Filter image uploads according to their NSFW Score
- Face Recognition (Verify Identity)
- Convert a PDF to a high resolution image
- Generate a description of an image
- Generate a GIF from a set of static images
- Image Encryption & Decryption
- Generate Random Pixels
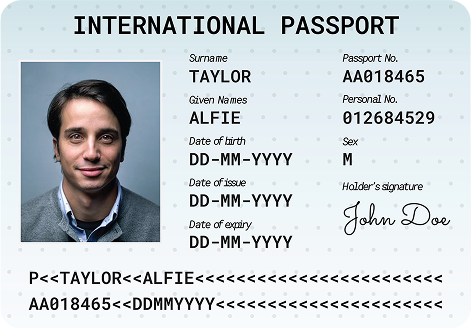
- Scan Passports, Visas or ID Cards
- Scan US Driver's License
- Detect & Blur Human Faces
- Detect & Crop Human Faces
- Mimic Snapchat Filters
- Face Lookup in a Group Photo
- Upload a local media file
- GIF Composite
- Age, Gender & Emotion Extraction
- Create a New Image and Draw on Top
- Extract text from a given image (OCR)
- Smart Media Validation
- Grayscale, Edge & Oil Paint Effects
- Composite two or more images
- Generate Funny MEME
PixLab Code Samples
Automatically detect and blur inappropriate content in user uploads
This example shows how to build a simple moderation workflow that scores uploaded images for inappropriate content and conditionally applies blur when the score crosses your threshold.
This workflow uses a straightforward two-step API pattern:
- NSFW Detection Endpoint - Analyzes images using advanced machine learning to detect inappropriate content. Returns a confidence score from 0 to 1, where higher values indicate a greater likelihood of NSFW content. This endpoint should be called first to assess the image. Learn more about the NSFW API.
- Blur Processing Endpoint - Applies a blur filter to images when the NSFW score exceeds your defined threshold (commonly set to 0.5). This endpoint is only called conditionally based on the detection results. View the Blur API documentation.
Implementation Example
Complete working examples and additional use cases are available on the PixLab GitHub Repository.
PixLab Code Samples
Verify identity through advanced facial recognition
This example shows how to verify whether two face images belong to the same person by comparing facial features and returning a match score.
How it works:
-
Face Verify Endpoint ↗ - This is the primary API for one-to-one face verification. It compares a source image against a target image, with each containing a single face. The endpoint returns a confidence score indicating whether the faces match.
Working with multiple faces: If your images contain multiple faces, you have two options:- Use the Face Detect endpoint to locate faces and get coordinates, then extract individual faces using the Crop endpoint before verification.
- Switch to the Face Lookup ↗ endpoint, which is designed for one-to-many facial recognition scenarios.
Learn more about Face Verify API.
Implementation Example
Complete working examples and additional use cases are available on the PixLab GitHub Repository.
PixLab Code Samples
Convert PDF documents to high-resolution images
This example demonstrates how to convert PDF documents into high-quality JPEG or PNG images with a single API call. Perfect for generating thumbnails, previews, or extracting specific pages from PDF files for web display.
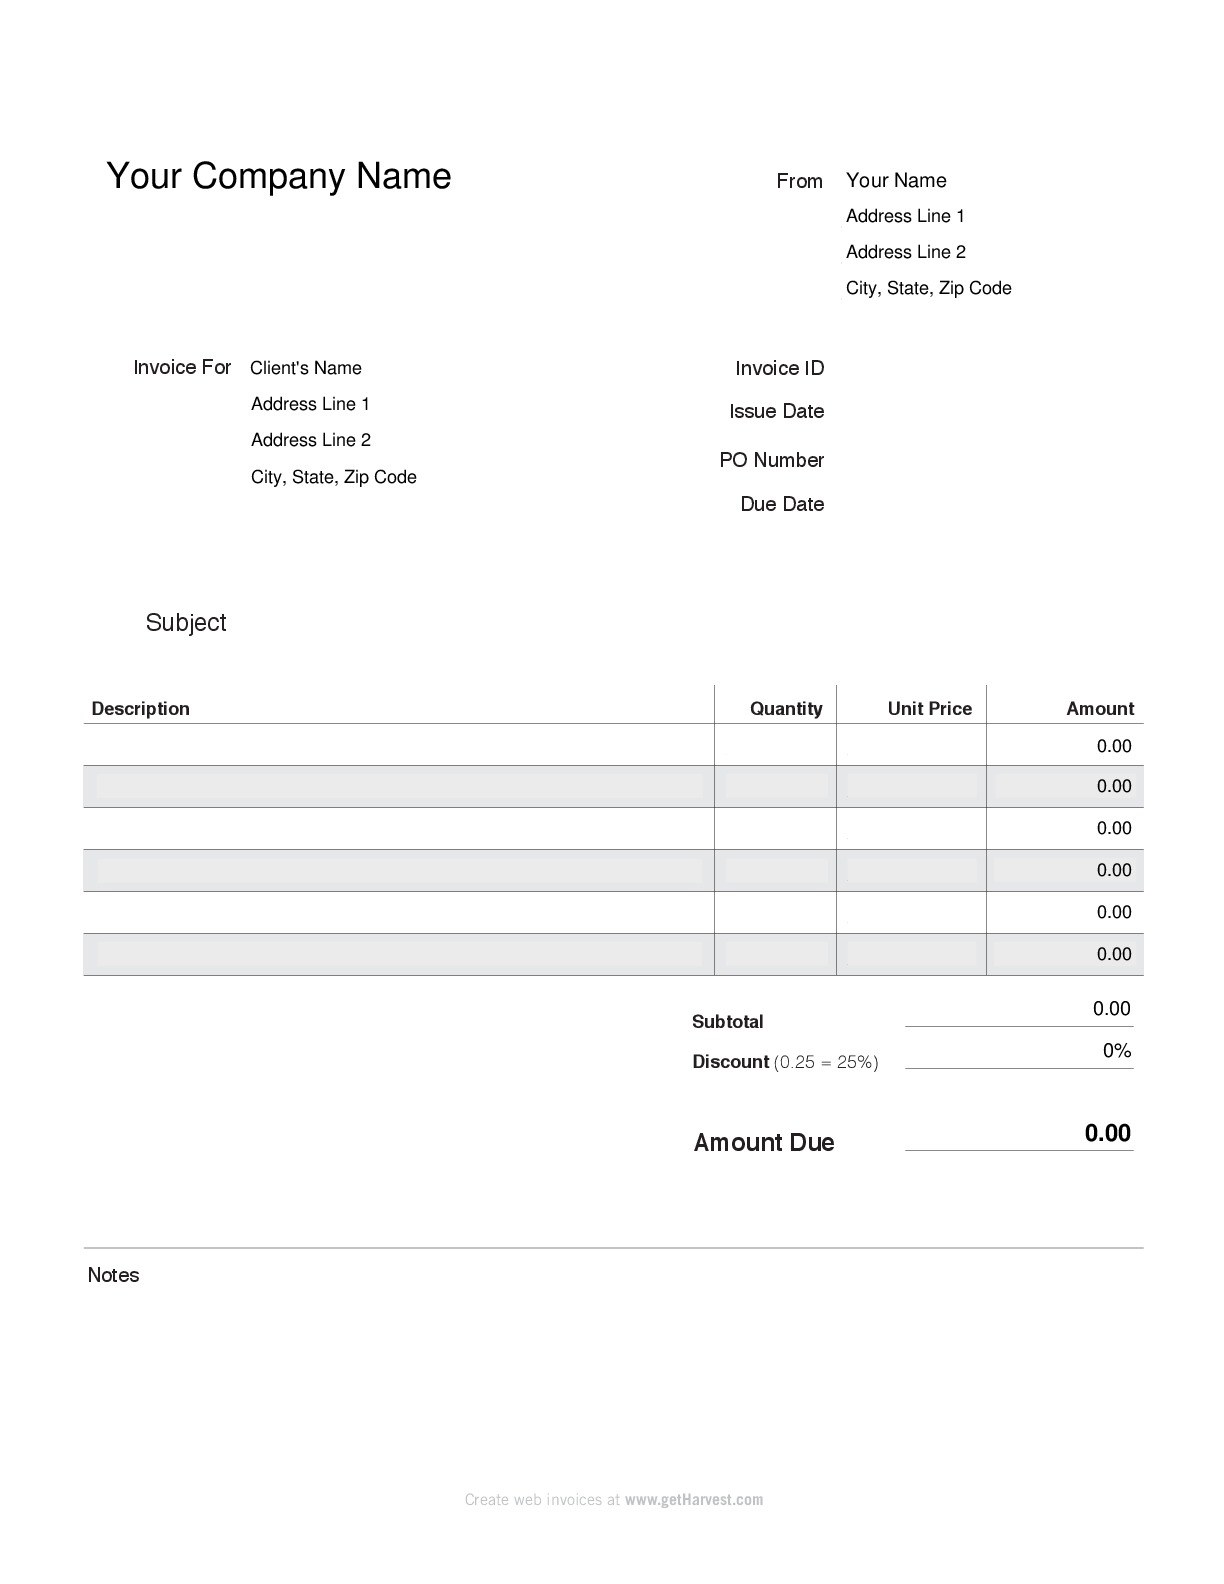
PDF invoice converted to high-resolution PNG
How it works:
-
PDF to Image Endpoint - This API handles the complete conversion process. You have full control over the output with customizable options:
- Page Selection - Extract specific pages or convert entire documents
- Output Format - Choose between JPEG, PNG, or other image formats
- Resolution Control - Set custom DPI for optimal quality
- Batch Processing - Convert multiple pages in a single request
Learn more about the PDF to Image API.
Implementation Example
Complete working examples and additional use cases are available on the PixLab GitHub Repository.
PixLab Code Samples
AI-powered image tagging and content recognition
This example demonstrates how to automatically generate descriptive tags and extract meaningful content from images using deep learning. The system employs a convolutional neural network (CNN) to analyze visual content and return human-readable labels with confidence scores.
Input image for analysis

How it works:
-
Image Tagging Endpoint - This API uses advanced computer vision to identify objects, scenes, activities, and concepts within images. The response includes:
- Tag Names - Descriptive labels for identified content
- Confidence Scores - Accuracy ratings for each detected tag (0-1 scale)
- Multiple Tags - Comprehensive analysis with multiple relevant labels
- Contextual Understanding - Recognition of relationships between objects
Perfect for image search, content categorization, accessibility features, and automated metadata generation. Learn more about the Image Tagging API.
Implementation Example
Complete working examples and additional use cases are available on the PixLab GitHub Repository.
PixLab Code Samples
Create animated GIFs from static images
This example demonstrates how to create animated GIF files from a collection of static images. Combine multiple images into a single animated GIF with customizable frame rates, dimensions, and quality settings—perfect for creating animations, slideshows, or marketing content.

Resulting animated GIF
How it works:
-
Make GIF Endpoint - This API takes an array of static images and combines them into an animated GIF. Key features include:
- Multi-Format Support - Accept JPEG, PNG, WebP, and other image formats
- Frame Control - Set custom frame duration and sequencing
- Quality Options - Optimize file size and visual quality
- Loop Settings - Configure infinite or limited loop counts
Learn more about the Make GIF API. -
Additional GIF Tools: PixLab offers a complete suite of GIF processing endpoints:
- Crop GIF - Trim and crop animated GIFs
- GIF Composite - Overlay text, images, or watermarks
- Resize GIF - Scale GIFs to any dimension
Implementation Example
Complete working examples and additional use cases are available on the PixLab GitHub Repository.
PixLab Code Samples
Secure image encryption and decryption
This example demonstrates how to protect sensitive images using password-based encryption. The system transforms readable image pixels into encrypted data that remains completely unreadable until decrypted with the correct password—ideal for securing confidential documents, medical images, or private photos.
Original Image

Encrypted Image (Unreadable)

How it works:
- Encrypt Endpoint - Transforms image pixels into encrypted data using your password. The encrypted image is completely unreadable and secure.
- Decrypt Endpoint - Restores the original image using the same password. Without the correct password, the image remains permanently encrypted.
🔐 Security Note: Use strong, unique passwords for encryption. The same password must be used for both encryption and decryption operations.
Implementation Example
Complete working examples and additional use cases are available on the PixLab GitHub Repository.
PixLab Code Samples
Generate synthetic images with random pixels
This example demonstrates how to dynamically generate synthetic images filled with algorithmically-created random pixels. These generated images are particularly valuable for machine learning applications, serving as negative samples for training datasets, creating test data, or generating unique backgrounds and textures.
Dynamically Generated Image
How it works:
-
Pixel Generate Endpoint - Creates new images on-demand with customizable dimensions. Key features include:
- Custom Dimensions - Specify any width and height for your generated image
- Random Pixel Patterns - Advanced algorithms create unique, non-repeating pixel distributions
- ML-Ready Output - Perfect for generating negative/background samples for training computer vision models
- Instant Generation - Create synthetic images in real-time without any source material
Learn more about the Pixel Generate API.
💡 Use Cases: Training data generation, placeholder images, texture creation, testing image processing pipelines, and negative sample generation for ML models.
Implementation Example
Complete working examples and additional use cases are available on the PixLab GitHub Repository.
PixLab Code Samples
Automatically detect and blur all faces for privacy protection
This example demonstrates how to automatically protect individual privacy by detecting and blurring all human faces in images or video frames. Perfect for publishing photos in compliance with privacy regulations like GDPR, anonymizing surveillance footage, or protecting identities in public content.
Original Image

Privacy-Protected (All Faces Blurred)
How it works using a two-step process:
- Step 1: Face Detection - The Face Detect endpoint identifies all human faces in the image and returns precise rectangle coordinates for each detected face. This AI-powered detection works with multiple faces, various angles, and different lighting conditions. Learn more about Face Detection API.
- Step 2: Apply Blur Filter - The Mogrify endpoint receives the face coordinates and automatically applies blur effects to each detected region, protecting identities while preserving the rest of the image. View the Mogrify API documentation.
✅ Privacy Compliance: Ideal for GDPR compliance, social media publishing, journalistic work, security footage anonymization, and any application requiring identity protection.
Implementation Example
Complete working examples and additional use cases are available on the PixLab GitHub Repository.
PixLab Code Samples
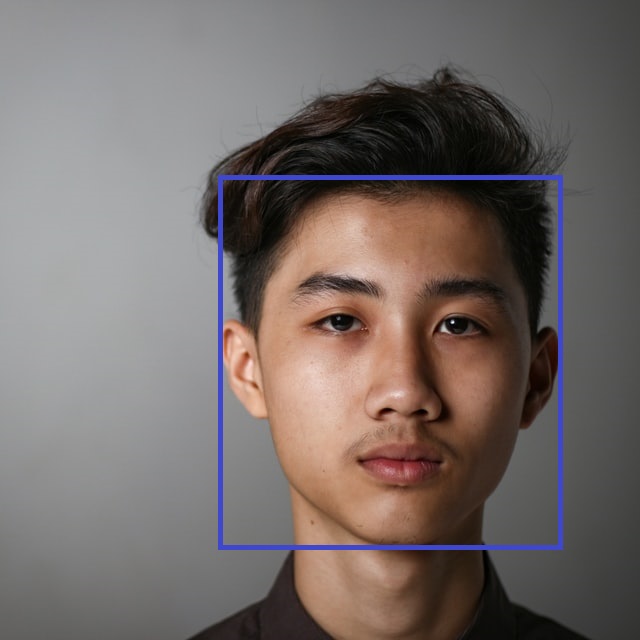
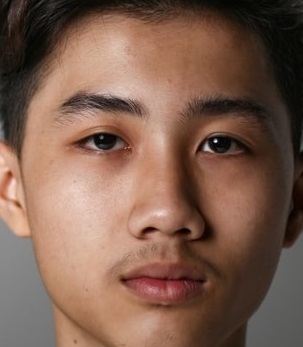
Detect and extract individual faces from group photos
This example demonstrates how to automatically detect all human faces in an image and extract each one as a separate file. This is essential for creating profile pictures, building face datasets, generating thumbnails, or processing batch photos where individual faces need to be isolated and saved independently.
Original Group Photo
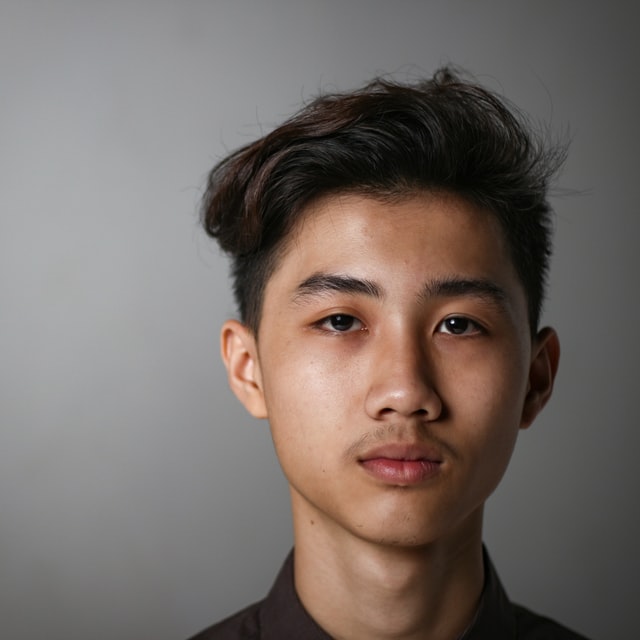
Extracted Individual Face
How it works using a two-step extraction process:
- Step 1: Face Detection - The Face Detect endpoint analyzes the image and returns rectangle coordinates for each detected face. This includes position, dimensions, and confidence scores for every face found in the image. Learn more in the Face Detection documentation.
- Step 2: Face Extraction - The Crop endpoint uses the coordinates from face detection to extract each face region as a separate image. Simply pass the coordinates, and each face is isolated and ready to save. View the Crop API documentation.
- Alternative Approach: If you prefer to mark or highlight faces instead of extracting them, use the Draw Rectangle endpoint to overlay bounding boxes on the original image.
📸 Use Cases: Automatic profile picture generation, face dataset creation, photo booth applications, contact management systems, and batch photo processing for social platforms.
Implementation Example
Complete working examples and additional use cases are available on the PixLab GitHub Repository.
PixLab Code Samples
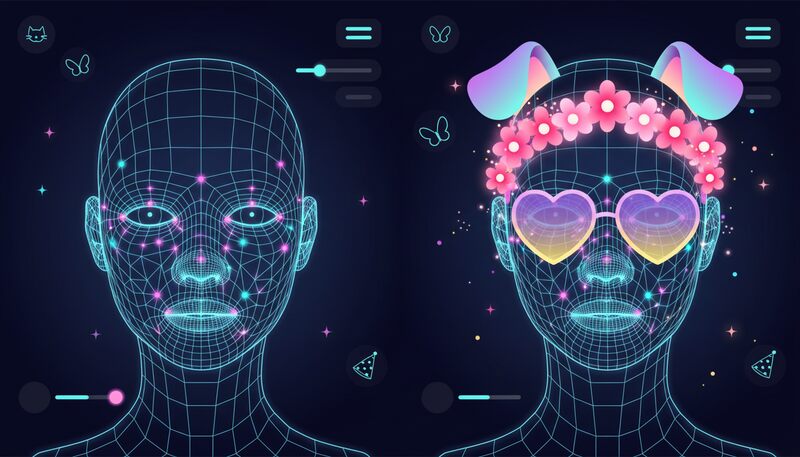
Create social media AR filters with facial landmarks
This example demonstrates how to create augmented reality face filters similar to those popularized by Snapchat and Instagram. By combining facial landmark detection with intelligent image compositing, you can overlay digital effects like flower crowns, animal features, or custom graphics onto detected faces in real-time.
Conceptual demonstration of AR filter technology using facial landmark detection
How it works:
Creating AR face filters requires a three-stage pipeline using facial landmark detection, intelligent resizing, and precise compositing:
-
Face Landmarks Endpoint - The foundation of any AR filter. This API detects all faces in the image and returns precise coordinates for facial features including:
- Eyes, eyebrows, and nose - For glasses or masks
- Mouth and lips - For expression-based effects
- Jawline and chin - For face shape overlays
- Forehead and cheekbones - For crown and accessory placement
These landmarks serve as anchor points for overlay positioning. Learn more about the Face Landmarks API. - Smart Resize Endpoint - Automatically scales overlay images (flower crowns, dog ears, etc.) to precisely match the dimensions of detected facial features. For example, it can resize a crown image to match the exact width between the temples.
- Merge Endpoint - Composites the resized overlays onto the target image using the coordinates from facial landmarks. Supports multiple overlays simultaneously for complex filter effects. Learn more about image merging.
- Optional Background Effects: Enhance your filters with additional processing endpoints:
Implementation Example
Complete working examples and additional use cases are available on the PixLab GitHub Repository.
PixLab Code Samples
Find a specific person in group photos using facial recognition
This example demonstrates one-to-many facial recognition—the ability to locate a specific person within a crowd or group photo. The system analyzes a reference face image, then searches through all detected faces in a target image to find matches based on facial biometric patterns.
How it works:
-
Face Lookup Endpoint - This API performs intelligent one-to-many facial search by:
- Detecting all faces in the target image automatically
- Comparing each face against the reference image
- Calculating similarity scores for each potential match
- Returning bounding boxes for matched faces with coordinates
- Providing confidence thresholds to evaluate match quality
The API requires two inputs: a reference face image and a group image containing multiple people. Results include location coordinates and confidence scores, allowing you to programmatically identify the best matches. Perfect for photo organization, security applications, and social media tagging. Learn more about the Face Lookup API.
Implementation Example
Complete working examples and additional use cases are available on the PixLab GitHub Repository.
PixLab Code Samples
Upload and host media files for processing

Understanding Media Upload Options:
PixLab offers flexible media upload methods depending on your workflow:
- Direct Upload Processing: Most PixLab endpoints accept direct file uploads via multipart/form-data POST requests, allowing you to analyze or process local files without pre-hosting them. This is the simplest approach for immediate processing.
- Remote URL Processing: Some specialized endpoints like OCR, Mogrify, and Face Verify require media files to be accessible via public URLs before processing. This is where the Store endpoint becomes essential.
-
Store Endpoint - Upload and host your local media files for API processing:
- Cloud Hosting - Upload to PixLab's secure storage infrastructure
- S3 Integration - Configure your own Amazon S3 bucket via the PixLab Dashboard
- Format Support - Handle images, videos, GIFs, and other media types
- Public URLs - Receive accessible URLs for downstream processing or content delivery
- Persistent Storage - Files remain available for repeated API calls
After uploading, use the returned URL with any PixLab endpoint that requires remote file access. Learn more about the Store API.
Implementation Example
Complete working examples and additional use cases are available on the PixLab GitHub Repository.
PixLab Code Samples
Overlay images, text, and graphics onto animated GIFs
This example demonstrates how to add static overlays—such as watermarks, logos, text captions, or stickers—to animated GIF files. Perfect for branding, meme creation, or adding visual elements to animated content.
How it works:
-
GIF Composite Endpoint - This API extends the functionality of static image compositing to animated GIFs. Key features include:
- Frame-Specific Overlays - Apply overlays to specific frames or all frames
- Position Control - Precise X/Y coordinate placement
- Transparency Support - Maintain alpha channels for logos and watermarks
- Multiple Overlays - Composite multiple elements in a single operation
- Meme Creation - Extends the capabilities of the Meme and Merge endpoints to animated formats
This endpoint maintains the original GIF's animation properties while applying your overlays seamlessly. Learn more about GIF Composite.
Implementation Example
Complete working examples and additional use cases are available on the PixLab GitHub Repository.
PixLab Code Samples
AI-powered age, gender, and emotion detection
This example demonstrates how to extract demographic and emotional attributes from facial images using advanced machine learning. The system analyzes facial features and biometric patterns to estimate age, determine gender, and recognize emotional states—ideal for audience analytics, personalized experiences, and sentiment analysis.
Typical analysis output with demographic and emotional data
How it works:
-
Face Motion Endpoint - This comprehensive API performs multi-attribute facial analysis and returns:
- Face Detection - Bounding box coordinates for each detected face
- Age Estimation - Predicted age range based on facial characteristics
- Gender Classification - Gender determination with confidence scores
- Emotion Recognition - Detected emotional state (happy, sad, angry, neutral, etc.)
- Integration Ready - Coordinates can be passed directly to other endpoints like Crop or Mogrify for further processing
All analysis is performed using state-of-the-art computer vision models trained on diverse datasets. Learn more about the Face Motion API.
Implementation Example
Complete working examples and additional use cases are available on the PixLab GitHub Repository.
PixLab Code Samples
Dynamically create images with custom text overlays
This example demonstrates how to programmatically generate images from scratch and add custom text overlays. Perfect for creating dynamic CAPTCHA challenges, personalized graphics, social media cards, certificates, or any application requiring on-the-fly image generation with text content.

Two-step process:
-
Step 1: Create Base Image - Use the New Image endpoint to generate a blank canvas with customizable:
- Dimensions - Set custom width and height (e.g., 300×300 pixels)
- Background Color - Choose any solid color or use
nonefor transparency - Output Format - Export as PNG (default), JPEG, or other formats
- Smart Scaling - If one dimension is omitted, it auto-scales proportionally
-
Step 2: Add Text & Graphics - Use the Draw Text endpoint to overlay content with:
- Custom Fonts - Choose from various font families and sizes
- Positioning - Precise control over text placement
- Color & Styling - Full control over text appearance
- Additional Options: Extend functionality by adding lines, rectangles, merging images, or highlighting detected faces.
Implementation Example
Complete working examples and additional use cases are available on the PixLab GitHub Repository.
PixLab Code Samples
Extract text from images with intelligent OCR
This example demonstrates Optical Character Recognition (OCR) technology that automatically extracts text from images and documents. Using state-of-the-art machine learning algorithms, the system detects text regions, identifies languages, and converts visual text into machine-readable content with exceptional accuracy.
Sample input image with text content
How it works:
-
OCR Endpoint - This powerful API performs comprehensive text extraction with:
- Automatic Language Detection - Identifies the language of the text automatically
- Multi-Language Support - Handles dozens of languages including Latin, Cyrillic, Asian scripts, and more
- Text Localization - Returns coordinates for detected text regions
- Confidence Scores - Provides accuracy metrics for extracted text
- High Accuracy - Excellent results with clear, well-lit images
Perfect for digitizing documents, extracting data from receipts, processing business cards, converting handwriting, or making images searchable. Learn more about the OCR API.
Implementation Example
Complete working examples and additional use cases are available on the PixLab GitHub Repository.
PixLab Code Samples
Intelligent image analysis and dynamic resizing
This example demonstrates a complete workflow for validating and transforming uploaded images. The system first extracts comprehensive metadata to verify image specifications, then dynamically resizes or converts the image to meet your exact requirements—perfect for standardizing user uploads across your platform.
Two-phase workflow:
-
Phase 1: Analysis & Validation - The Header endpoint extracts complete image metadata including:
- Dimensions - Width and height in pixels
- Format Details - MIME type, file format (JPEG, PNG, WebP, etc.)
- Color Information - Color channels, bit depth, color space
- File Properties - File size, compression quality
- Validation - Use this data to accept or reject uploads based on your criteria
Learn more about the Header API. -
Phase 2: Processing & Transformation - After validation, apply intelligent transformations:
- Smart Resize - Content-aware resizing that preserves important features
- Avatar - Create profile pictures with face detection and centering
- Thumbnail - Generate optimized preview images
- Convert - Transform between image formats (PNG, JPEG, WebP, etc.)
Implementation Example
Complete working examples and additional use cases are available on the PixLab GitHub Repository.
PixLab Code Samples
Professional image filters and visual effects
Transform images with professional-grade filters using simple API calls. With over 130 specialized endpoints, PixLab provides an extensive library of image effects that can be applied instantly—no complex image processing knowledge required. Simply call the desired filter endpoint with your parameters, and get stunning results immediately.
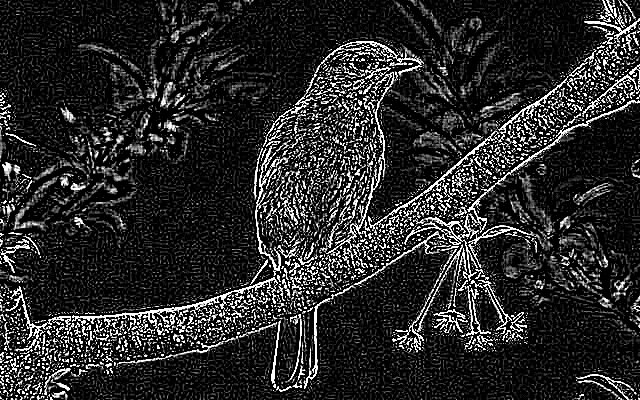

Available filters and effects:
- Basic Filters: Grayscale, Blur, Noise, Flip
- Artistic Effects: Edge Detection, Emboss, Oil Paint
- Image Enhancement: Despeckle, Deskew, Flatten, Chop
- Explore all available filters ↗
Implementation Example
Complete working examples and additional use cases are available on the PixLab GitHub Repository.
PixLab Code Samples
Layer and composite multiple images seamlessly
This example demonstrates how to combine multiple images into a single composition, perfect for creating watermarks, overlays, AR effects, and social media filters. Composite images with precise control over positioning, blending, and layering.

How it works:
-
Basic Compositing: Use the Merge Endpoint to layer multiple images onto a base image. This endpoint accepts an unlimited number of source images and handles positioning and blending automatically.
- Ideal for watermarking, branding, and simple overlays
- Support for transparency and alpha channels
- Customizable positioning and scaling
-
Advanced AR Effects: Create sophisticated augmented reality filters by combining the Face Landmarks endpoint with compositing:
- Detect precise facial feature coordinates (eyes, nose, mouth, etc.)
- Overlay graphics like glasses, masks, animal features, or accessories
- Create social media-style filters with accurate face tracking
- Build custom AR experiences for your applications
Implementation Example
Complete working examples and additional use cases are available on the PixLab GitHub Repository.
PixLab Code Samples
Add custom text overlays to images
This example shows how to programmatically add styled text overlays to images—perfect for creating memes, social media graphics, watermarks, and branded content. Customize fonts, colors, positioning, and styling to match your creative vision.
Input Image

Output Image

How it works:
-
Draw Text Endpoint - Add text to images with flexible positioning and styling options:
- Position Control - Place text at TOP, CENTER, or BOTTOM of images
- Typography - Customize font family, size, and weight
- Styling - Configure text color, stroke width, and effects
- Automatic Formatting - Text is automatically centered and styled for readability
Learn more about the Draw Text API. -
Advanced Positioning: For pixel-perfect text placement, use the Draw Text At Endpoint which allows you to specify exact X and Y coordinates. This gives you complete control over text positioning anywhere on the image—ideal for:
- Custom layouts and compositions
- Multi-line text designs
- Product labels and annotations
- Complex graphic templates
Implementation Example
Complete working examples and additional use cases are available on the PixLab GitHub Repository.